Printing characters on paper is truly the core of the machine. A command to print a specific character fires the selector magnets to tilt and rotate the type ball to the proper position, as it is being flung forward to strike the ribbon and imprint through that to the paper behind the ribbon.
The command starts a print cycle, rotating the print shaft to move the typeball and the detents that lock the ball into its final position accurately. Early on in the print cycle, the two metal tapes are tensioned so that they tug on the pulleys under the type ball establishing an initial tilt and rotate. A bit later in the cycle detents enter the triangular teeth on the bottom of a type ball to fine tune the rotary position. Another detent enters four teeth on the tilt rocker to lock in the exact tilt position.
Cams inside the carrier lift the ribbon to cover the spot where the new character will be printed. The ribbon is initially low allowing the typist to see the prior characters on the page; a fixed ribbon positionwould block the view.
Other cams pivot and accelerate the typeball forward like a hammer so that it strikes the ribbon near the end of the cycle. The ball falls back into position and the escapement is tripped to move the carrier one column to the right.
Rotate is a complicated process because the machine must twist the ball left or right, establishing one of five left and five right positions as well as the non-rotation home column. Then, the ball must be able to rotate 180 degrees between the 'upper case' and 'lower case' sides of the ball.
For the IBM 1130, the type ball has upper case characters on both sides of the ball, unlike a typewriter which would have both lower and upper characters. Thus, the letter A will look the same when selected on either hemisphere and takes up 52 of the 88 positions on the ball. However, the other 36 characters (non alphabetic) are divided across the two hemispheres. For example, all the digits 0 - 9 are on the lower case side of the ball with the same position on the upper case side containing ( + < ¬ ) ; * ' " and |. Another eight positions contain only special characters, different on the UC and LC side.
There is quite a range of tension of the metal tape involved to reach all 22 positions of the ball, if you consider both hemispheres and the eleven selected rotate spots. If this is not done correctly, when the detent enters the teeth on the ball it can lock it on the wrong column, just as a mispositioning of the tilt can lock the ball on the wrong row.
As I received the Selectric, it had a broken metal tape but I suspect its adjustments were not correct even had the tape been intact, given how many other adjustments I found to be awry. I went with the sequence of checks and adjustments in the Field Engineering Maintenance Manual to be certain I could get the rotation selection to work reliably. This will be a long long process taking many hours in multiple visits to the shop.
PRINT SHAFT INITIAL ALIGNMENT
The print clutch on the constantly rotating main shaft, driven by the motor, will couple that motion to the shaft to its left. This is passed through an arrangement of gears to the front shaft that the carrier slides across. The shaft has a keyway down its length that locks the various cams in the carrier to the position of the shaft.
As the shaft turns, the cams inside determine when the detents enter to lock in the tilt and rotate positions, as well as other cams lifting ribbons and throwing the ball forward. The keyway has to be set correctly relative to the rest position of the print clutch, so that the various detent and other operations occur at the proper point in the rotation of the print shaft, e.g. correct time in the print cycle.
This position is judged from the side of the carrier where the print shaft enters. There is a small hole above and to the rear of the shaft related to the ribbon lift mechanism. The keyway of the print shaft should point to that. A gear is loosened in order to rotate the print shaft to the desired starting point. This was successfully set.
 |
| loosen setscrews to adjust the shaft |
 |
| keyway aligned to hole |
ROTATE SPRING TENSION
The tension on the metal rotate tape is what spins the ball to its twenty-two different positions, eleven per hemisphere. The shift mechanism imparts a large tension increase to swing the ball 180 degrees to the 'upper case' side, added to the initial tension and the changes that are caused by the rotate pivot arm selecting negative or position twists of the ball for particular columns.
The pivot arm moves inward to relax tension to the negative rotation positions and pulls outward adding tension for the positive rotation positions. It is the tension in a watch style spring in the base of the carrier that pulls against the position of the shift and rotary position arms. It has to be sufficient to twist the ball to the -5 column when the pivot arm relaxes inward all the way, but also able to handle the tension of a +5 rotation with the ball in 'upper case' level.
We test the tension by establishing a -5 column on the 'lower case' side and then using a spring scale to read off the tension necessary to move the shift arm off its stop. The rotary spring can have its tension increased or decreased until we reach the right force for this minimum tension position of LC, -5.
 |
| Using spring scale to test tension |
A secondary test is performed by shifting the ball to the 'upper case' side and adding the maximum twist of a +5 rotation. The ball must be able to swing to this position otherwise the rotate spring has bottomed out due to excessive tension. This adjustment is complete.
SELECTION LATCH CLEARING BAIL
At the end of a print cycle, the bail that will pull down on selection levers should be back near its lowest point. The lever tips should be able to slide under the bottom edge of the bail and rest there. If a magnet is activated the lever tip is pulled away from the bail, if not activated then the lever will be pulled down as the bail rotates downward during the print cycle.
This has a check and adjustment that had me worried because on this machine, the tips do not slip under the bail when the print cycle clutch is at idle. I was mollified by the comparison to my properly working 1053 from my IBM 1130 system, which exhibits the exact same condition. When a print cycle begins, the bail moves further up initially and that does allow all lever tips to pop underneath, but the manual was clear in saying this should happen at the print clutch idle point.
I considered the possibility that the print clutch stopping point is incorrectly set, but there does not appear to be any adjustments to address this on the machinery. The cams and fixed parts of the clutch seem to determine the movement of the bail up and down. There is no setting mentioned for the high and low point of the bail either.
Upon closer inspection, however, I realize that indeed I could adjust the cycle clutch and fix the problem! The shaft with the cams that drive selection and the bail are adjusted relative to the clutch stop point, as well as to a check pawl that locks the mechanism from bouncing backwards upon the stop.
Looking at the check pawl, which is at the extreme left of the shaft with the selection driving cams, I noticed that the check pawl was frozen in place by stale lubricants. I moved it out and it stayed where it was in spite of the spring trying to pull it back.

I had to disassemble it in order to clear out the junk and get it lubricated to move freely. Once it was back in the machine, it was time to work on the relative setting of this shaft and the print cycle clutch. When the cycle clutch hits its stop point, the check pawl should have engaged as well but it did not!
That confirmed that this is the adjustment problem leading to the issue with the selection levers not restoring under the bail at the idle point. When the shaft was rotated until the check pawl engaged, the bail was enough higher that the selection levers all popped underneath easily. In fact, they had the correct gap of .005".
I loosened up the lock and stop screws on the clutch and was able to rotate the selection cam shaft compared to the clutch. However, I did not figure out how to make the settings so that we had the ideal conditions - cycle clutch triggered, the selection cam shaft moves the bail downward to pull on any unselected selection latches, the clutch comes to a stop after 180 degrees of rotation and the check pawl falls into its slot.
 |
| Cycle clutch in middle, cam shaft to the left |
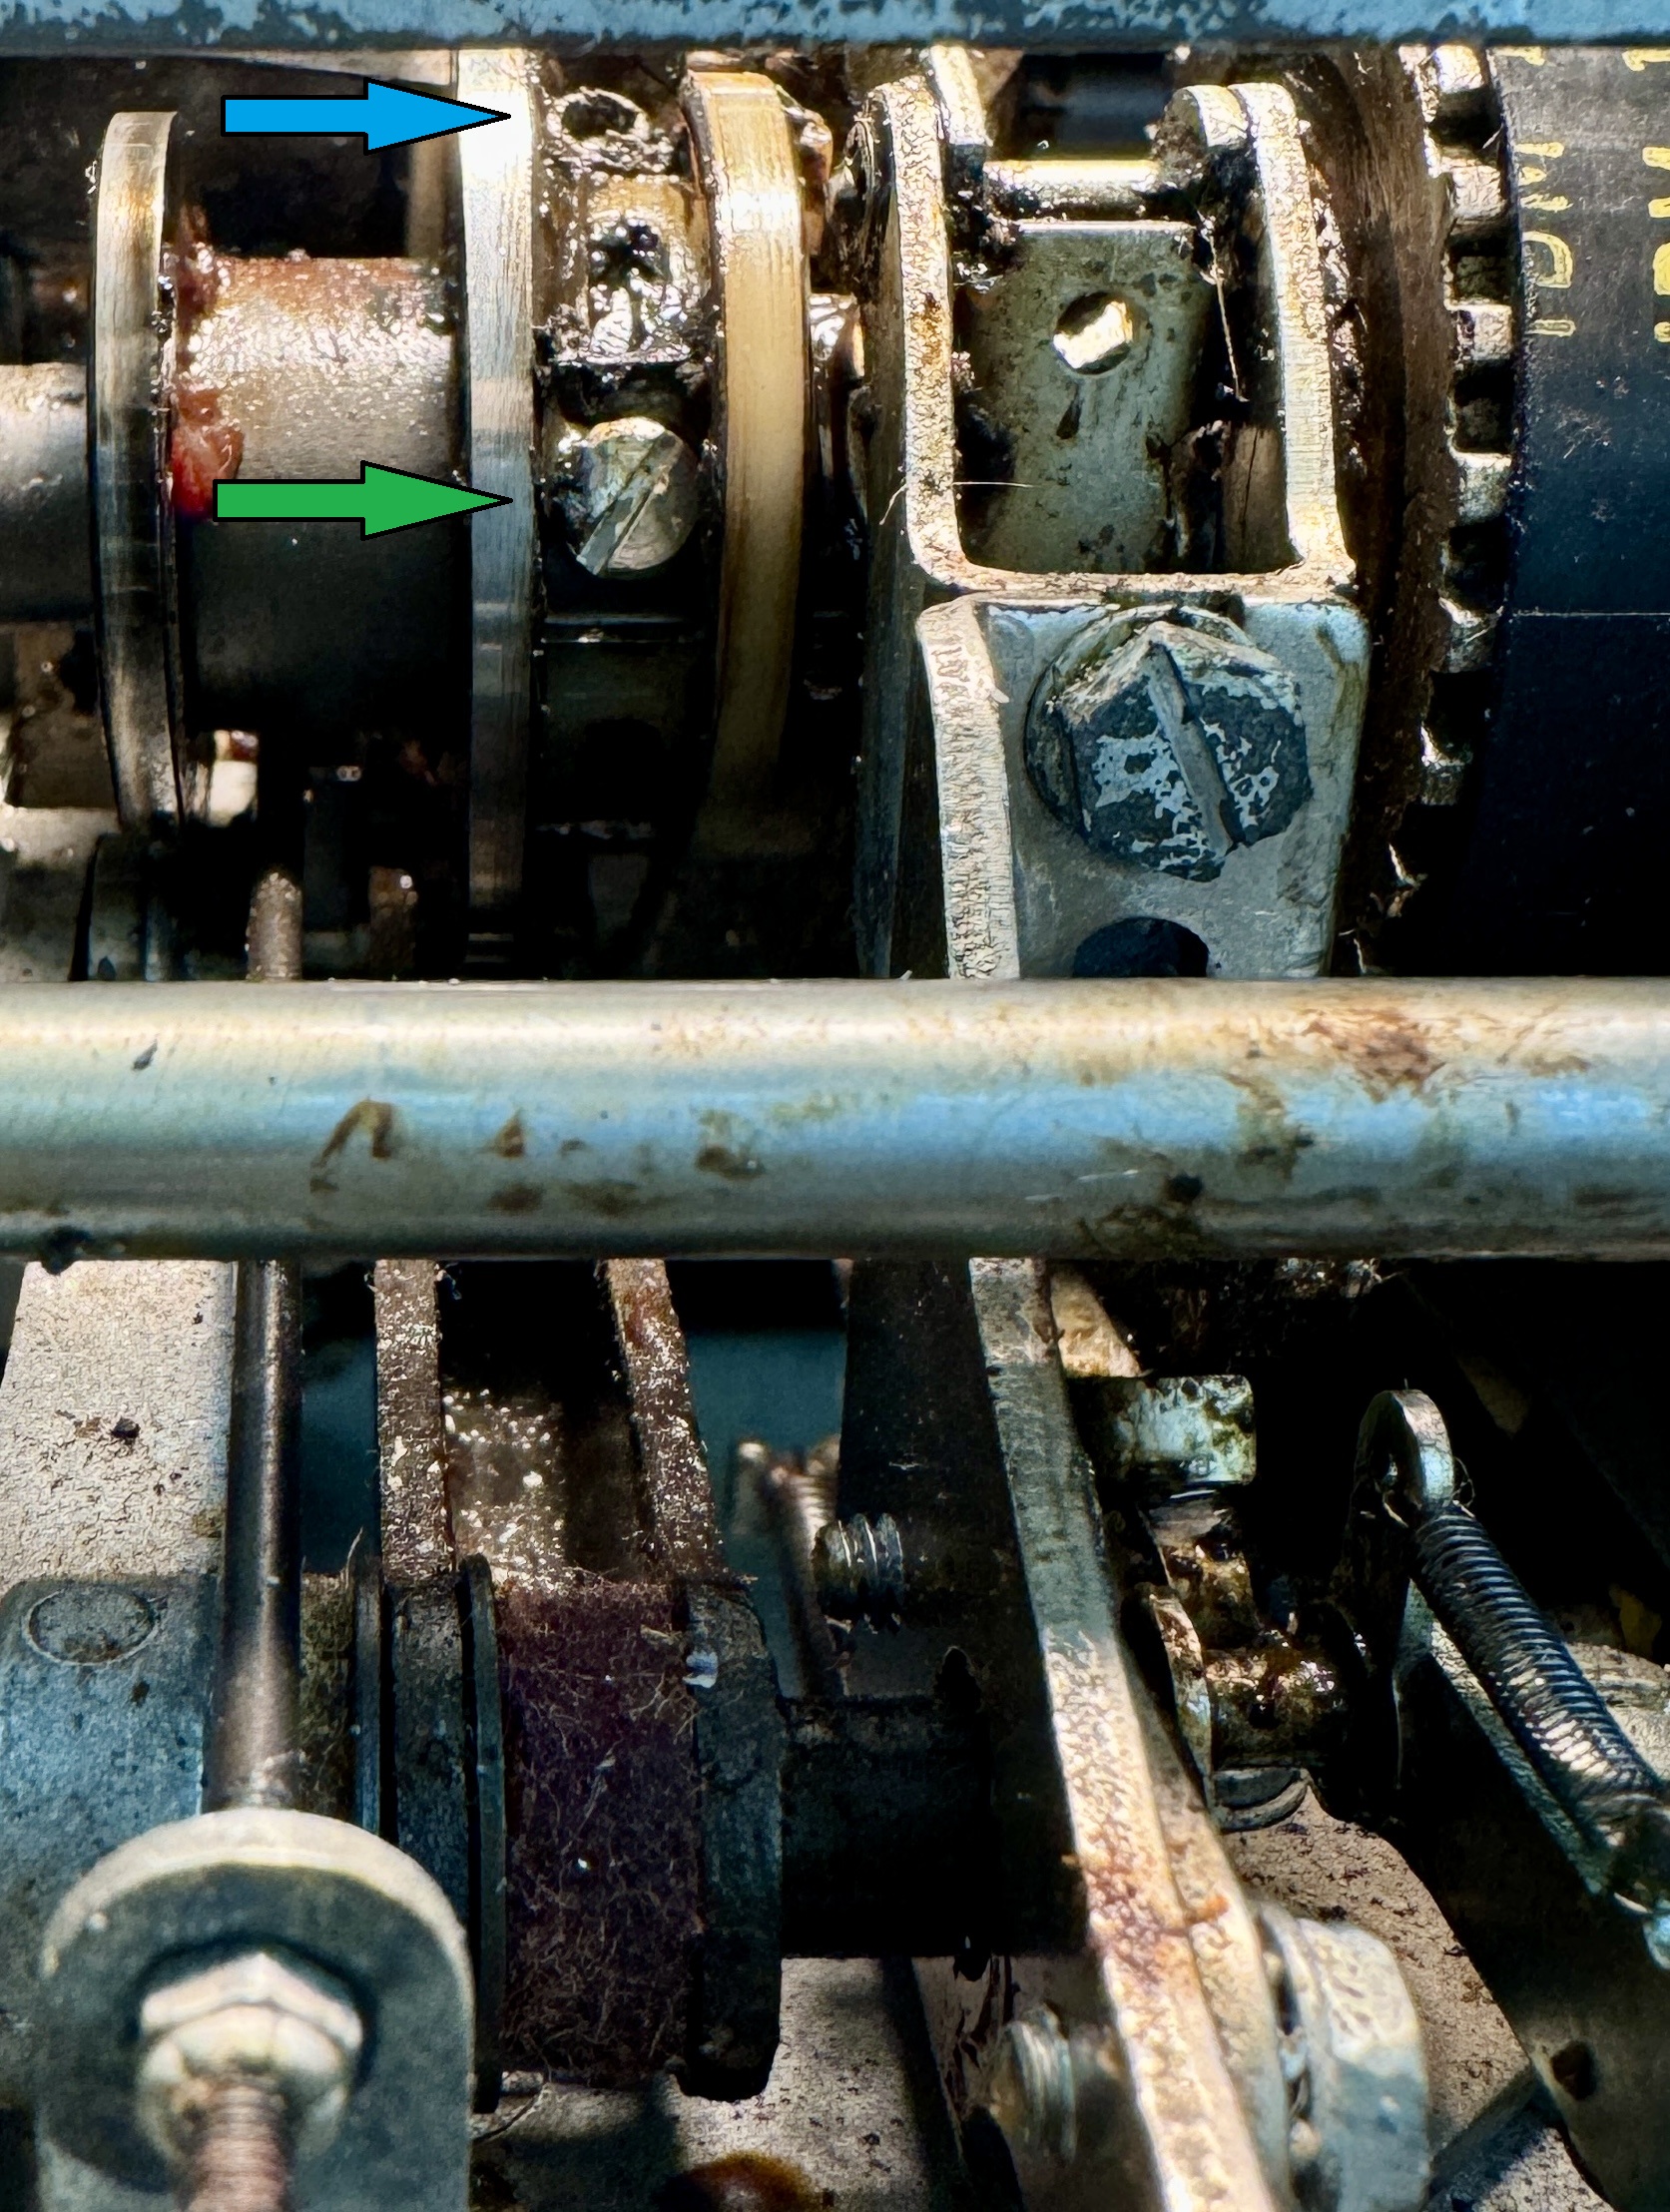 |
| blue is lock screw, green for a stop screw |
The manual never mentions the role of the cycle clutch in the bail movement or selection latch restore that is the third item to adjust. Instead it states that I should bend the metal stop tabs down for any selection latch that doesn't restore at the idle point. That would be every selection latch, which didn't seem right to me. I think that would have been a big mistake had I blindly followed the manual.
No comments:
Post a Comment