PREPARING ASSEMBLY FOR UPDATED LIGHT SYSTEM
 |
| Lucite adhering to nylon honeycomb |
 |
| Glue bond failed on this side |
 |
| My clamp to hold PCB behind honeycomb |
The Lucite must be glued to the honeycomb and the panel/honeycomb assembly screwed into the pedestal cabinet above the console printer, before the PCB with my lamps can be placed behind and the bulbs inserted into the cells. I had all the bulbs inserted into the PCB ready for the insertion.
 |
| Bulbs inserted into front side of PCB |
PARTS ARRIVED TO COMPLETE THE JOB
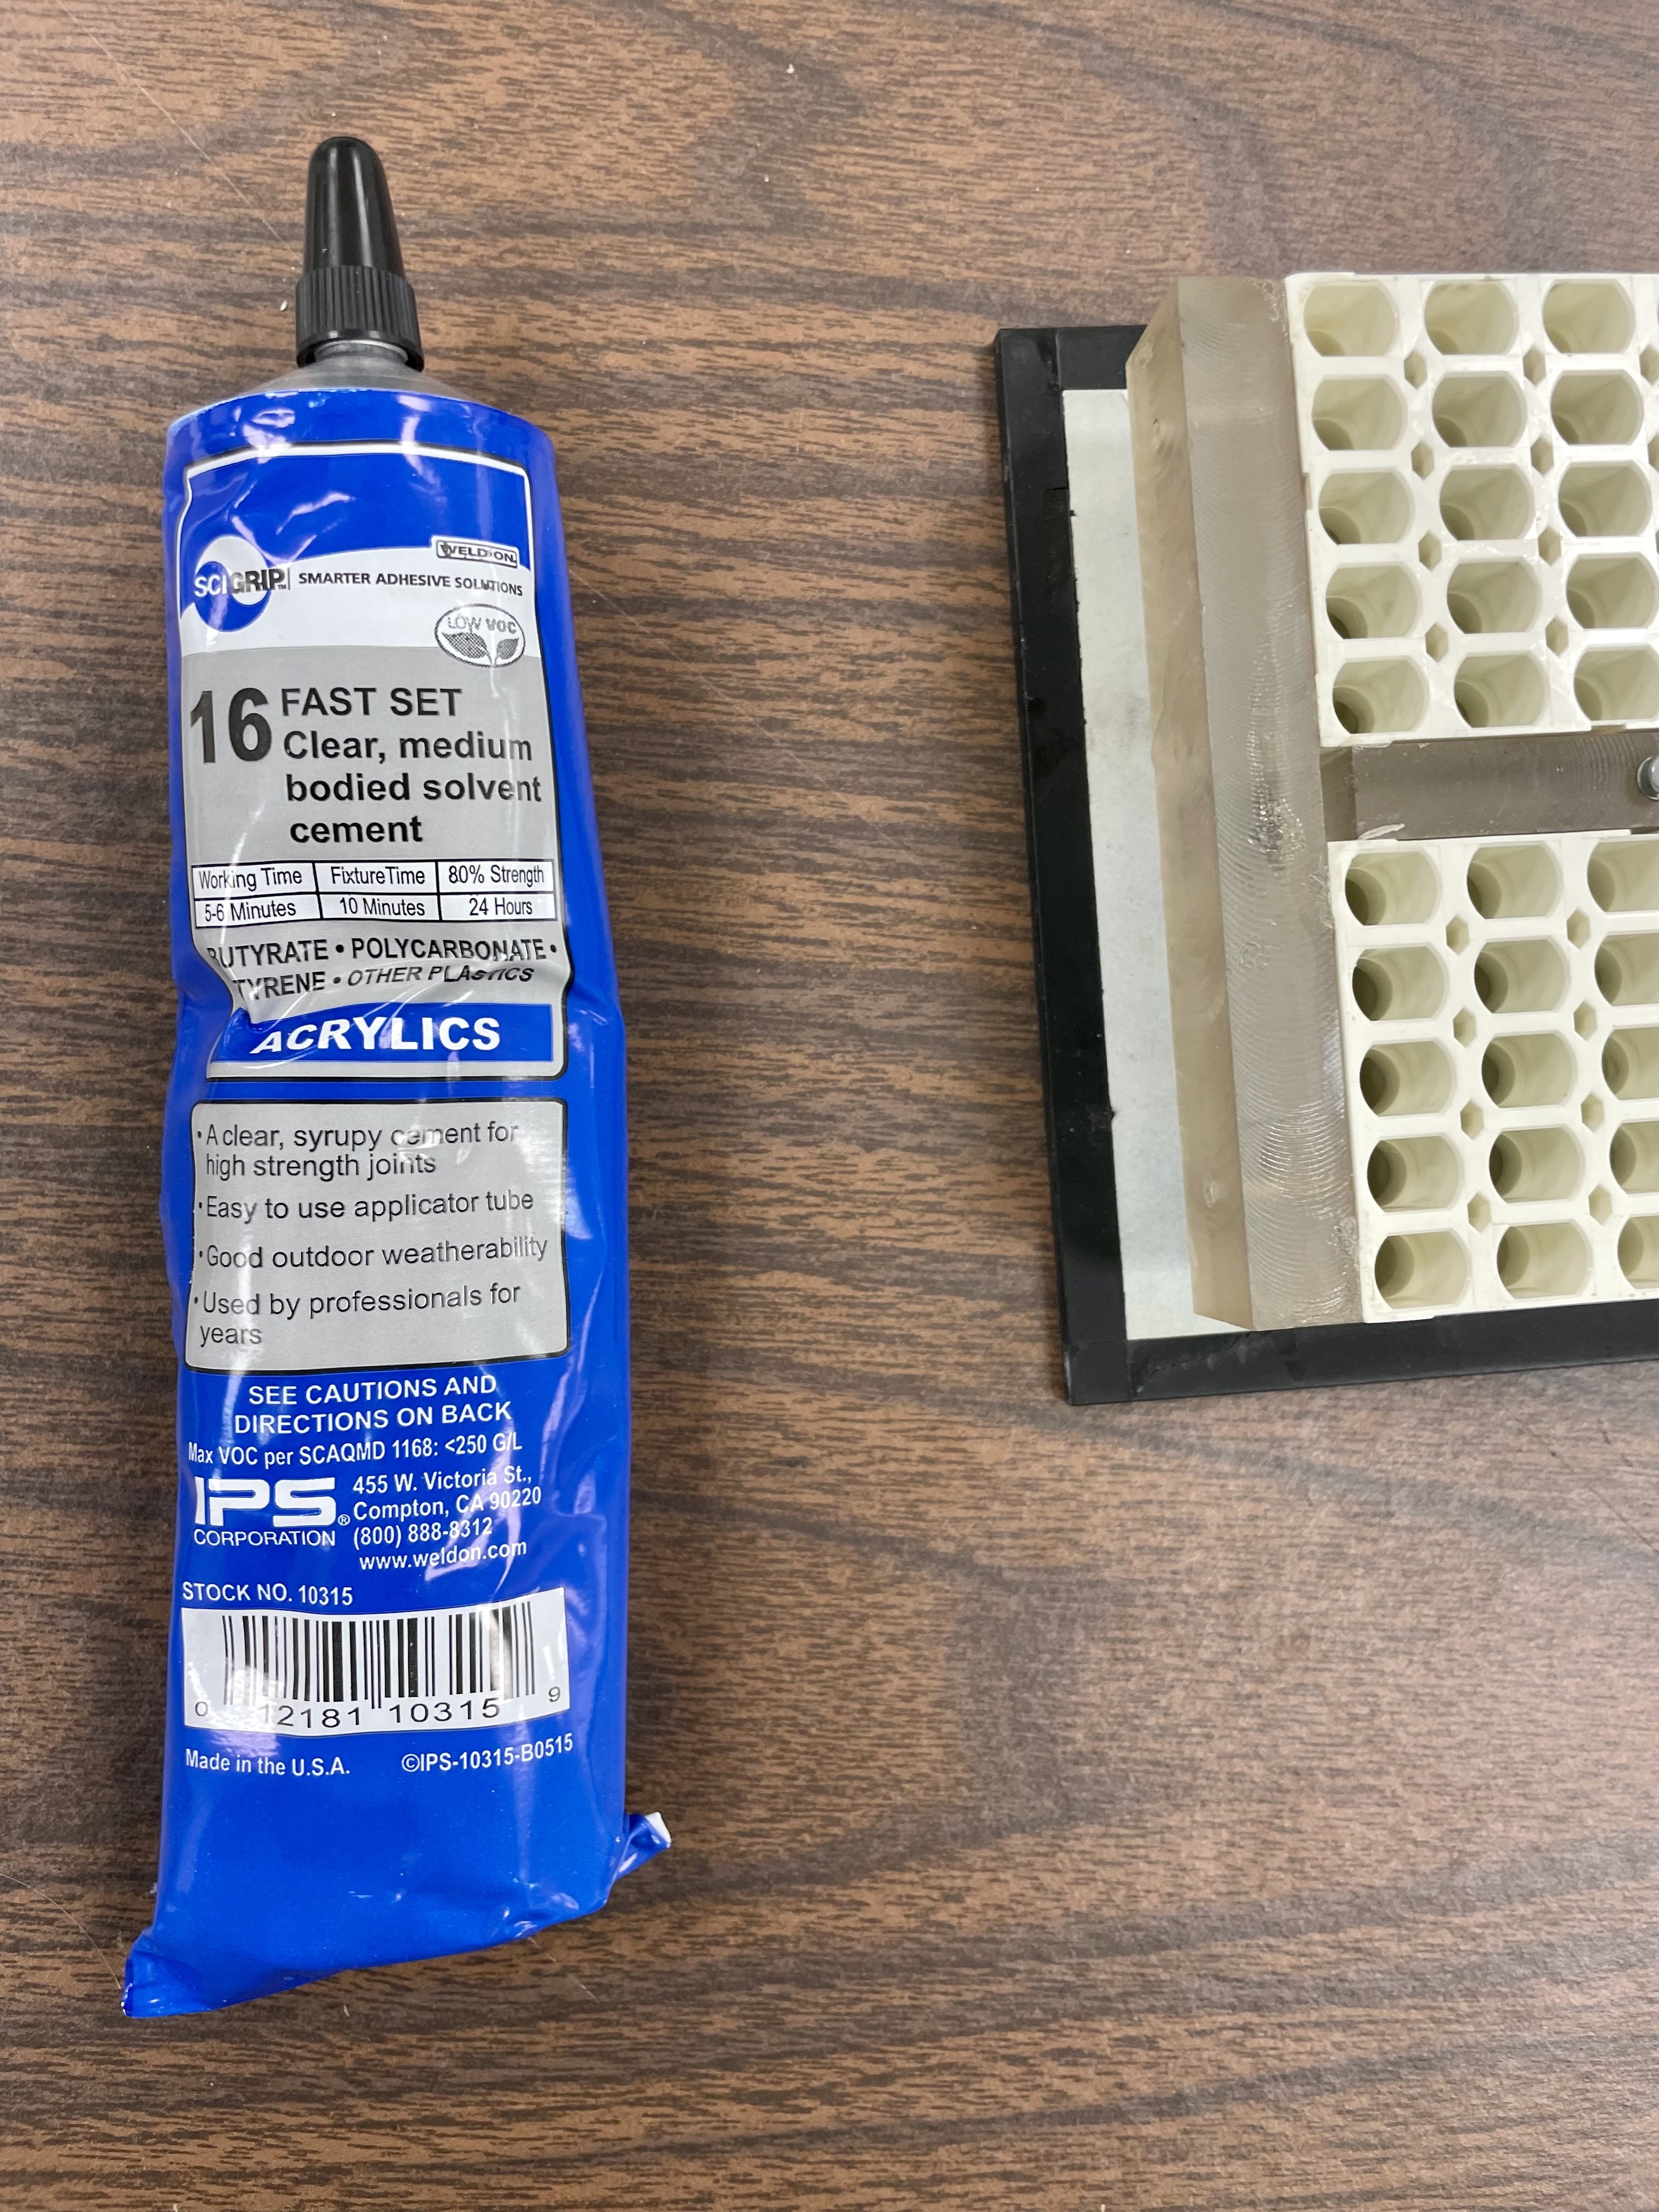
I had been waiting for a plastic glue, to affix the Lucite to the Nylon honeycomb, plus a rubber lip that would slide of the side of the PCB and fit into the steel U channels fasted to the Lucite blocks. When they finally arrived it was time to do the last bits of assembly. The glue-up was straightforward, held in place by a clamp until it dried. The rubber only needs to be cut to length and slid onto the PCB edge.
 |
| Glued but needs 24 hours to reach 80% of final strength |


No comments:
Post a Comment