I worked all morning on the reassembly of the punch unit and its incremental drive. I think I have everything done correctly, but it is hard to tell for sure when there are a number of parts in the bin that are used for the installation into the 1442 chassis and for connection to other units.
 |
| Punch unit with incremental drive on front |
 |
| Side view of punch unit, incremental drive on right |
The punch unit and incremental drive are complex mechanisms with many gears, cams, pushrods, springs, detents, solenoids, pulleys, belts and so forth. The incremental drive will move a punched card one column forward, in between the actual punching of the holes for that column. Thus, timing is important so that the card is still during the entire time the punch die is extended through the card, but that movement completes before the punches start moving for the next column.
Before I install the punch unit, I will read the service and adjustment manuals very carefully to determine whether there are any adjustments I should make with the unit out of the machine. With so much of it disassembled during the long process of removing gunked up old lubricants and many parts loosened or removed, I may have to make quite a few adjustments before I attempt to read and punch cards.
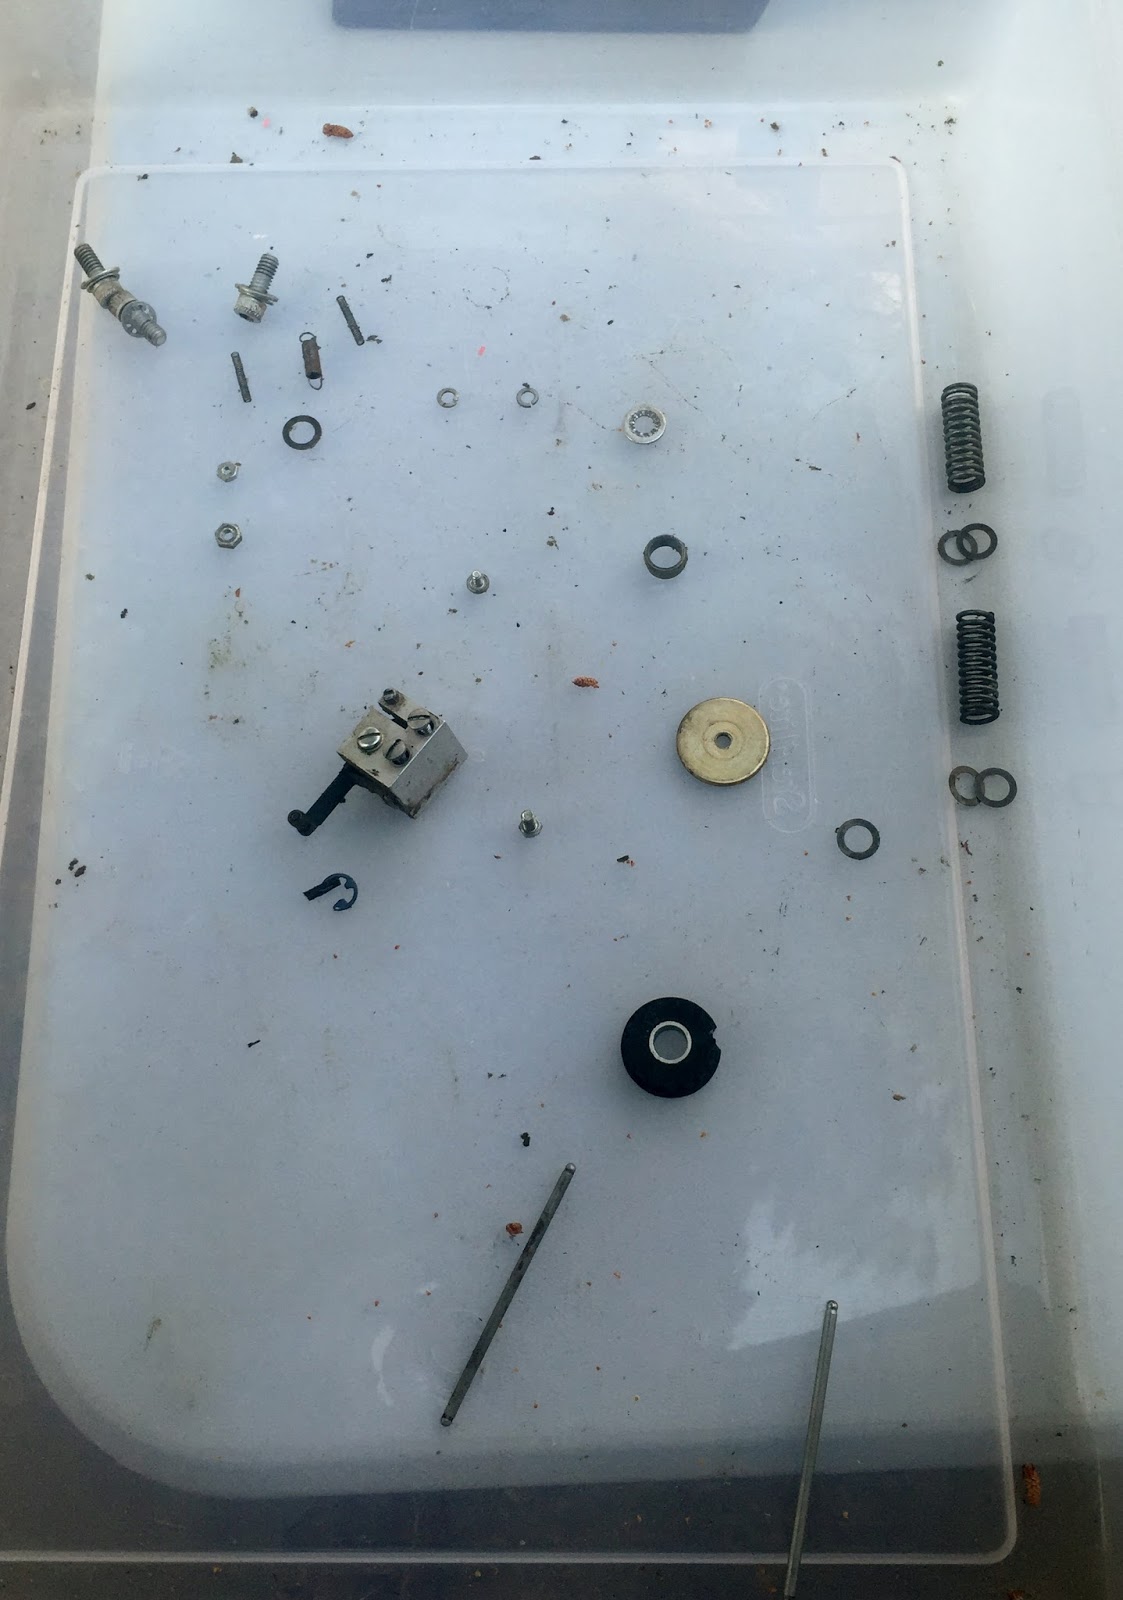 |
| Parts bin during assembly |
The adjustments for the remainder of the punch unit are done while it is mounted in the 1442 chassis, so I proceeded to install everything. By the time I stopped for the day, I had the punch in place, some belts replaced, the electrical connector attached, but still had to install a few things. Remaining to do are:
- Install two pushrod linkages from the main cycle camshaft
- tighten the main allen screws holding the punch to chassis
- reinstall the idler pulley I had to remove
- get belts in position and tensioned properly
- replace various covers and panels
 |
| Punch unit mostly installed in 1442 chassis |
 |
| Front of punch unit where belts are attached |
Still no word from the metalworker on the replacement cylinder manufacturing. I will wait until next week, then find another shop if I haven't heard back from this one.
RESTORING LAPTOP AFTER CRASHED DISK
I received the replacement hard drive from the seller of my laptop and will keep that as a protected master. I put it into my external disk cloner and cloned it onto my 960GB SSD which is what I will actually mount into the laptop for use. The cloning took several hours but soon I had a vanilla Windows laptop where I can begin installing software.
No comments:
Post a Comment