I repaired the screw that tightens the printer power connector into the 1131, by opening the connector body, putting a small cotter pin through the two parts to hold them together and reassembling.First time, I put the threaded bottom in the wrong way - see picture of it protruding too far. I reopened the connector and made it right. All good, apparently, except that the screw still wasn't catching. When I looked at the receptacle, it was missing the threaded hole in the center into which the connector screw attaches.
 |
| Connector open, cotter pin in place |
 |
| Rod inserted wrong - the hex shape should be inside the connector, only threads showing externally |
I could still push the power connector in where it would work properly, as long as the cable didn't get pulled since there is no screw to hold it into place. Since the cables are now attached, I powered up the 1131 and indeed the 1132 printer is now powering up. It initially had a forms check error light on, which just means that no paper is in the printer.
With paper added, the check light went off. The motor power switch got the motor spinning and the ribbon moving, just as it should. I tried the carriage space button, which moved down one line on the paper, and pressed start which put the printer into Ready status.
 |
| Printer in ready status, waiting for work |
The print wheel keeps spinning and the next character is ready - the printer interrupts the processor again and the software has to read the value of the character, find the new columns of the print line where THIS letter should print, then set up the bits in the fixed words. The printer fetches the words and fires hammers.
When you have printed all the characters that exist in the line, you issue a new command to the printer that stops the line print operation. For each character that will appear in a line, you get an interrupt, issue XIO to get the Device Status Word, issue XIO to read the emitter, set the bits and wait. To start a line, issue XIO Start print. When there are no more characters unprinted on the line, issue XIO Stop print. Next, issue XIO Carriage Space to move down a line, wait for the interrupt, XIO to get the DSW and verify the carriage movement is complete. Quite a bit of software work just to print one line of text.
I prepared a program I can toggle into the machine, which I am testing on Brian Knittel's 1130 simulator to minimize the chance that I have to enter the code multiple times. It can be pretty tedious.
PROCESSOR WORK INCLUDING MEMORY
I bought another batch of bulbs - still not at the 150 I need to fully repopulate the display panel but I am making progress. Once I have enough to do all six registers - 94 lamps (minus the ones I already installed) - I will do that section. Later, when the rest arrive, I can move on to the other sections and change those bulbs.
I discovered that I had left a CE switch on when I did the memory testing yesterday. Unfortunately, the problem did NOT go away. I will do the card swap of the suspect cards to veirfy what is wrong, then diagnose the individual component on the card.
I opened the listings of the diagnostic programs, chose small sections and toggled them in to check out the machine. Everything I tried (other than the bad sections of memory) worked perfectly. Once I can get the card reader to read cards, I can run much more extensive diagnostics.
TYPEWRITER RESTORATION
I wrestled that belt to move it over to the pulley, but moving it past the cycle latch, a very slim space. The maintenance manual mentions the use of a burnisher - thin metal plate - to encourage the belt to slide through the opening. However, that was after several items were removed, while I was trying to move the belt without disturbing any settings at all
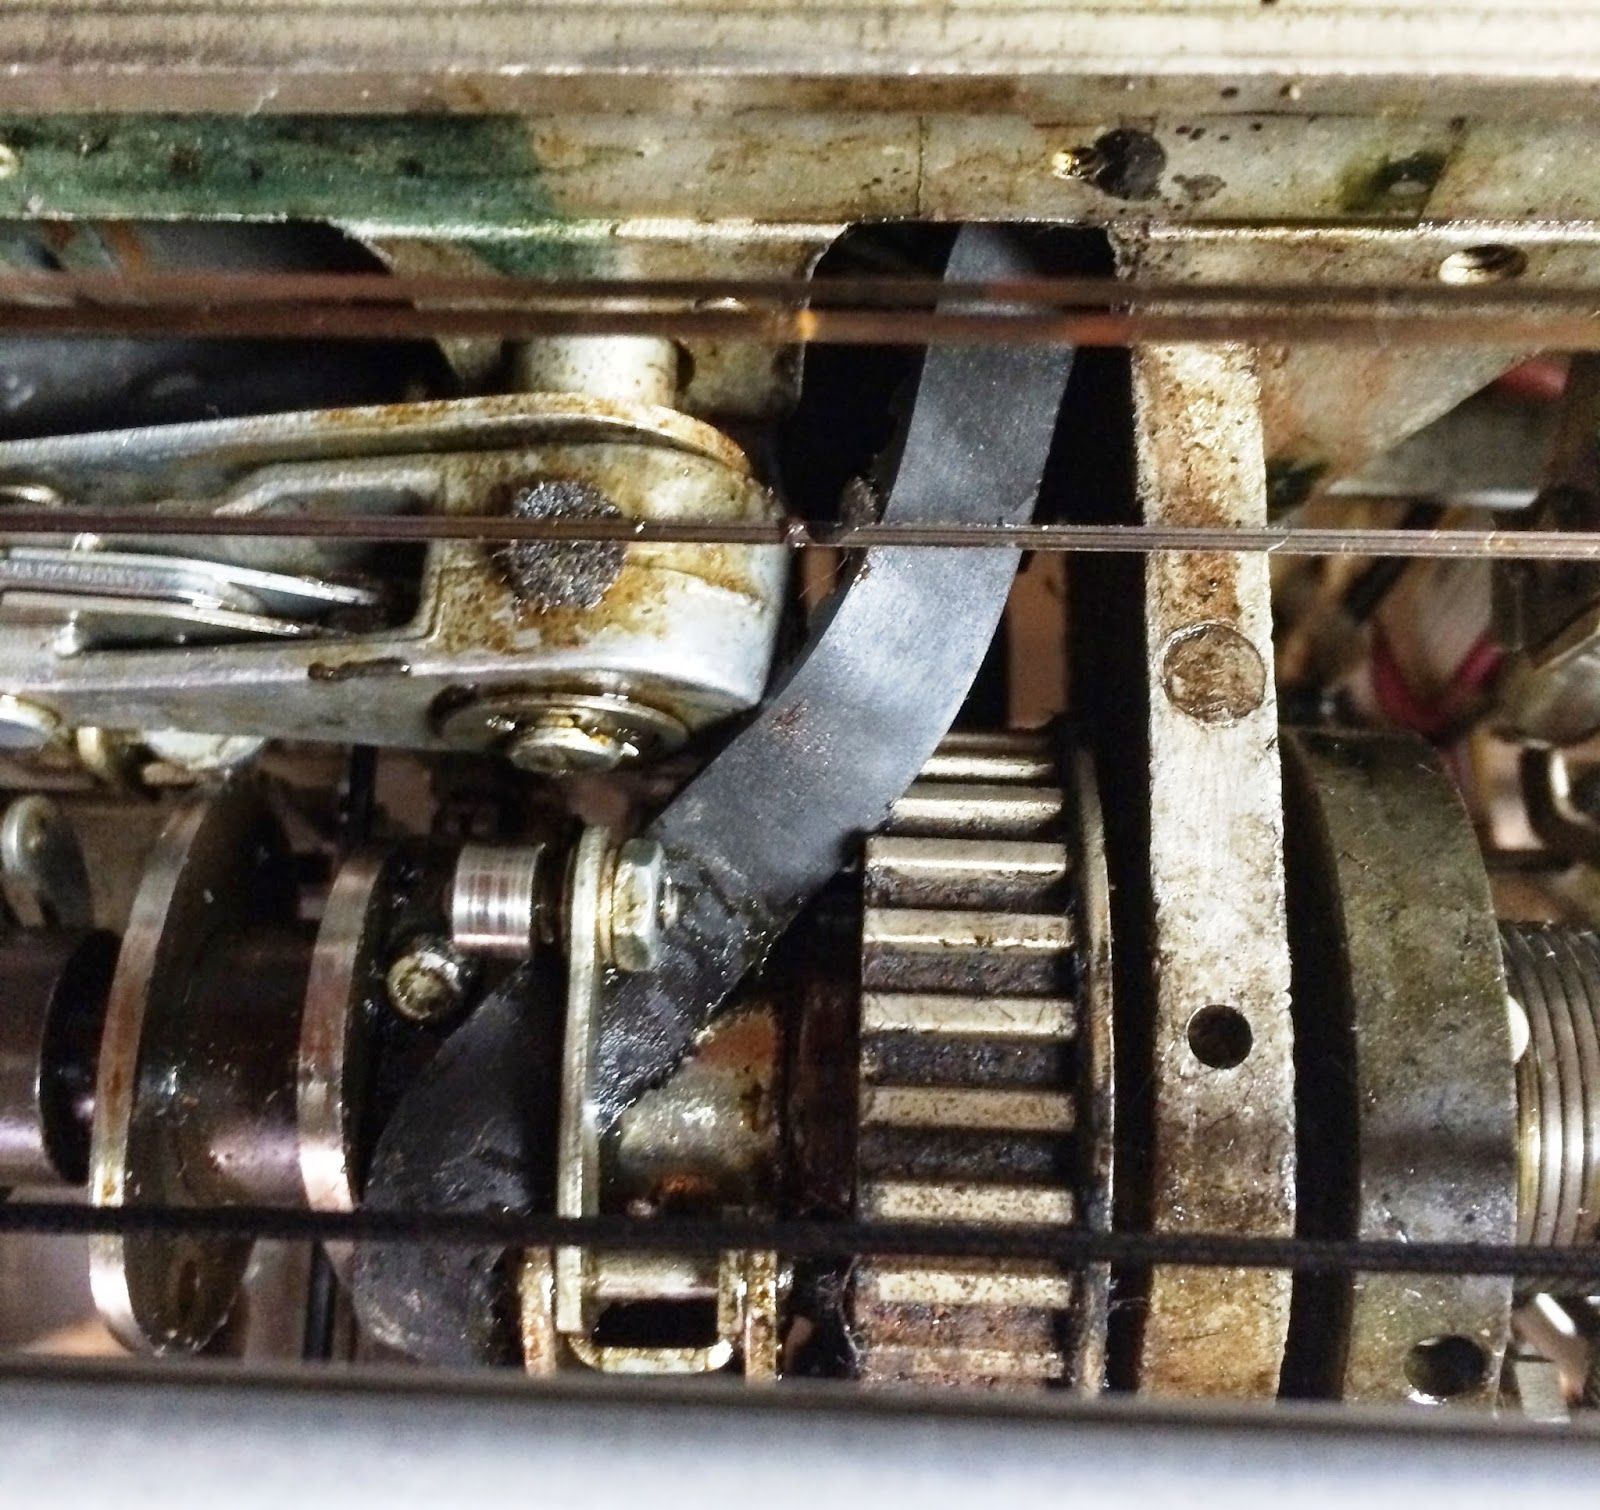 |
| Trying to push the belt under the cycle latch - impossible |
 |
| Removed the cycle latch |
 |
| Belt easily moved into place on pulley |
 |
| Cover plate in front, will go onto bottom of typewriter - new foam visible under base |
I received a batch of 2" thick foam soundproofing which I installed on the front and back lower covers of the 1442. I need more to replace the insulation that hangs under the top covers over the actual card movement mechanism.
I bought a grease gun but need to find some Mobil One grease which is the closest to IBM #23, the grease originally used on the device.
No comments:
Post a Comment